Quick and easy trigger point localisation using TP-TOOL – A field report by Dr Stephan Swart

In the everyday practice of treating orthopaedic and sport-related diseases, not only are suitable conventional medical treatments of great importance, but also quick, precise and simple localisation of the pathological changes in the tissues to be examined, such as connective tissue, fascia, tendon and muscle. In these tissue types, the points and regions to be located are characterised by increased density, increased volume and increased pressure sensitivity, among other factors. Existing localisation options such as manual palpation or elastography are firstly time-consuming and painful, and secondly not commonly used and expensive in terms of equipment.
The TP-TOOL® now makes it possible to localise trigger points and many other tissue irritations in a way that is quick and comfortable for the patient. It is designed to support the therapist’s hands and enable quick and easy investigations of the myofascial system, in turn allowing therapy processes (using radial and focused shock wave therapy, for example) to be administered in exactly the areas that require it. As a result, it has become an essential shock wave tool in my practice, and performing my daily work without it is no longer possible to imagine.
How do you localise trigger points with the TP-TOOL®?
Light contact pressure is applied to the tissue to be examined using the TP-TOOL® at a 45° application angle. The swelling associated with the pathology in the tissue leads to a perceptible displacement of the roller. Due to the elliptical shape of the roller, it is also possible to precisely locate deep-seated and minute trigger points and irritation zones by moving the tissue crosswise.
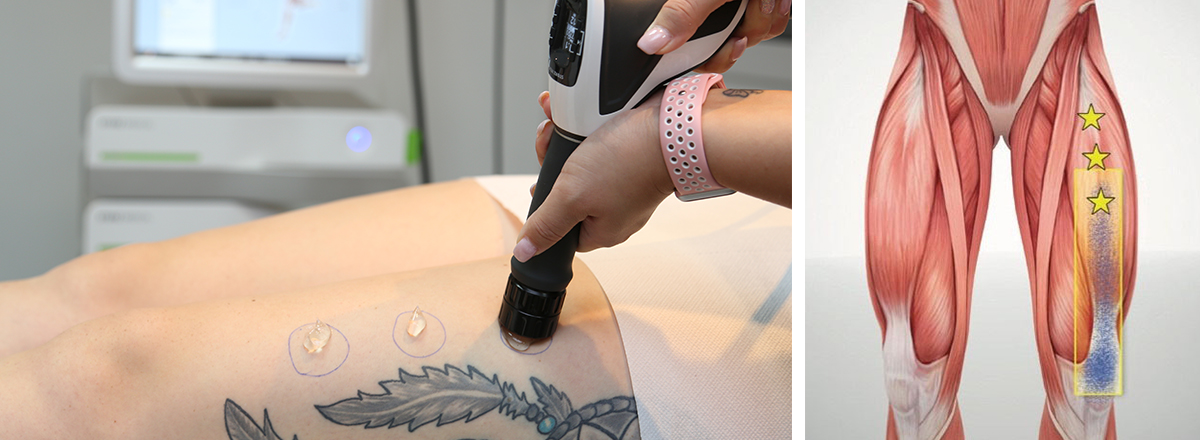
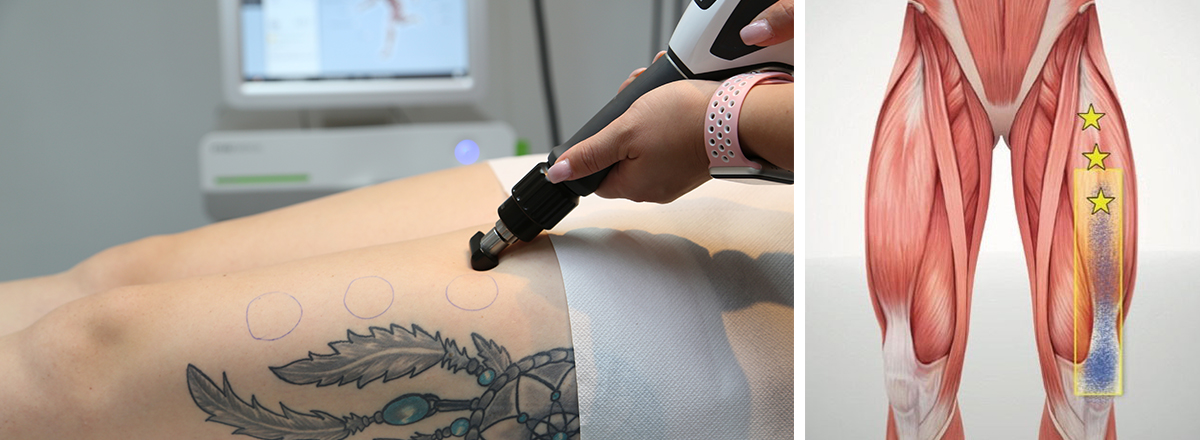
A typical myofascial treatment process has been documented for demonstration purposes. The patient, S. H., 27 years old, is a dedicated amateur athlete and show jumper, training 5 times a week. Approximately 3 months ago, she suffered a severe contusion of the left knee joint during riding training. Since that time, she has had retropatellar pain and dysbalances of the thigh muscles. Structural injuries have been excluded in imaging techniques such as X-ray and MRI. In addition to physiotherapy and stretching on her own initiative, the patient is currently undergoing weekly trigger point treatment.
Procedure of the myofascial treatment:
1. Examination of the quadriceps using the TP-TOOL®:

2. Marking the trigger point localisation

3. Dry needling of the trigger points

4. Treatment of the circumscribed hardened areas with radial ESWT
5. Release of myofascial bonding using the PERI-ACTOR® »scraper«
6. Kinesiology taping

Contact us for more information: